Showing posts with label Tutorial. Show all posts

Thursday, August 16, 2018

LMMS: The Bookworm

Hello and Happy Thursday!


For many, school has begun. My kids started the new school year on August 6th. Felt like a really short summer break, especially when I went to school- it didn't start until after Labor Day in September. heehee 
I had started to customize the hair on this cutie from 
http://www.littlemissmuffetstamps.com/ her name is Polka Dot Pals Lirienne - it's a rubber stamp and she's currently on sale! I also used clear stamp Polka Dot Pals Add-on Faces and this set is on sale as well. 


After I inked un my stamp, I carefully tried to remove some of the ink from the hair area.
I wanted the hair area to be light almost like "no-lines coloring," so I can customize and make it 
into curly hair and I tried to not mess with the hair barrettes. 


When I used the clear stamp Polka Dot Pals Add-on Faces I didn't line  up the eye holes like
normally because I wanted her to look like she was actually reading. I wanted her to look like she's looking down at the pages of her book. To do this you just line up the Polka Dot Pals Add-on Faces of your choice slightly above the area you normally would. I then darkened the eyelashes and pupuls with a Black Copic Multiliner pen. (With permission) I customized and worked on squiggly and curly lines following Barbara Sproatmeyer's artist lines. So I tried not to change the hairstyle nor the flow of the hair- I did add some bits of fly-away hairs.

Here is the image before deciding on the color of the book.

Here it is all finished ready to give to my daughter.

Don't forget to join the Facebook page
and check out the other creative teammates and customers on the challenge blog at

Thank you so much for visiting my blog.

Don't forget about the current sale.

I hope you enjoyed the card. 


Until next time,


Katya Bess

Saturday, July 2, 2016

Happy 4th of July 2016


It's time for another Theme Week!
Let's get crazy with Stars & Stripes!
We would love for you to participate with us in our THEME WEEK and it's quite easy to do so!  Simply create a project using ANY Stamp Anniething product (as your main focal point) in the set "theme" for that month. Post your project to the corresponding album over at our Face Book Group page (Stamp Anniething Stampers)! You may enter as many projects as you wish, but you will only be counted as ONE entry person.  A minimum of 5 people (not including DT Members) is needed in order for a prize to be given.

*~*~*~*~*~*~*~*~*~*~*~*~*~*~*~*~*~*~*~*~*~*~*~*

So here we go for June'sTheme Week!
Make ANY project using stars and stripes!!!


*~*~*~*~*~*~*~*~*~*~*~*~*~*~*~*~*~*~*~*~*~*~*~*
Here is what I made for the June Challenge:

When stars and stripes were mentioned of course all I could think of
was of Fourth of July or an American theme.
My stars and stripes are subtle but you can clearly see where they are. 

For this card I used
First stamped the image
then I stamped it on a piece of masking paper
so I could use distress ink all over and not 
"ruin" the image I intend to color. 
After getting all inky with the distress inks:
Mermaid Lagoon (a tiny bit around Chloe and Sam)
Black Soot (which covers most of the background)
and Mowed Lawn (for a grassy area)
Then I drew up some fireworks
with my Uniball white pen and my Prismacolor Pencils to add some color
Prismacolors Premier and Prismacolor Berol used:
PC903, PC906, PC924, PC926, PC942, PC935 and Berol 915

When I was done with my background I carefully removed the 
masking paper to save for another project
The I colored my image as normal with Copic markers
Copics:
BV11, E21, E53, E01, E50, R30
E0000. E000, R21, R39, R27, R46
B24, B28, B37, B000, B34, B95, B97
W5, W7, W9
C5, C7, C9
When all of the coloring is done I had
to look around the edges of the stamped image
because sometimes a few bits here and there
weren't covered by the distress inks 
so I just for over it with the closest
colored pencil that matched.

Here is a close up of the Copic coloring, a tad bit of the background
and you can even see some of the firework colors reflecting 
on their shiny hair.

 Here is a tad bit of the process
before I started coloring the image
and check out those coupons and spicy wings
LOL  I just use junk mail to protect my table from the ink.
As you can see it's a pretty clean cover/masking I just had to 
fill in a few little white spaces but nothing major. 
Then I proceeded with my Copic coloring. :) 
Those are the colors for Chloe's face but not Sam's.
I hope you liked my card. 
Make sure to join us on the Facebook page with 
a project with the theme above. 


Thank you for stopping by.

Have a great weekend to everyone
and Happy 4th of July to those that celebrate :)


Saturday, April 16, 2016

Christmas in April with Felicity

Hi there!


Back again with Felicity - What's Cooking? This time I colored her with a lighter skin tone and made her blonde and with a Christmas theme. This cutie was released just last week and it's perfect for that baker in your life, for a birthday card, for the cooks, for your mom (Mother's Day is going to sneak up on us very soon... hint hint) and for Christmas cards... Yeah!


I decided to make this card a Christmas in April theme card. Oh how fun 
it is to have cards ready before Christmas time. LOL   
I used papers from 
Doodlebug Design: Sugarplums
The sentiment is actually a preview for a stamp set
to be released for much later in the year... 
Am I naughty or what? heehee

Okay, on to how I stamped the image...
First, I stamped the chef hat on 
Inkadinkado Stamping Mask Paper to fussy cut.
Next, stamped another hat to color in the position you
want leaving enough room for your main image
just like the photo above. Then cover 
the hat with the Masking paper hat image.
After that, you can stamp your main 
image and since the masking paper hat
is covering the hat you intend to color - it 
doesn't get inked and it'll look like
it was part of the image already.

(I really like using this masking paper because you can use it over 
and over again as long as you keep it clean
plus it doesn't take a while to dry like masking fluid.
I like to store it along with the stamp packaging it comes in 
so it's ready and handy if I need it.)
Colored up Felicity with Copic markers

BV31 (you can substitute with any light BV color)
E0000, E000, E01, E21, R30, R20, R21
N2, N4
RV23, RV25, RV29
BG07

Thanks for stopping by.

Have a great day!!!

Saturday, March 19, 2016

Make a Splash - Audrina with MiC

      Hello Crafty friends,

Katya Bess, here and I'm showing you a card I made with
As I sat here and thought to myself,
 "Hmmm what colors should I use today?"
I have some "go-to" colors but I try not color the same 
all of the time since I like to challenge myself
the only problem is, this method 
takes longer than usual to finish- although very fun
and relaxing it's still time consuming.
So some strategies I have for myself is to choose one
of these: chose realistic colors, go monochromatic, pick
analogous colors (which means colors that are next to each other in the color wheel)
or I go with complimentary colors (colors opposite to each other) 
and sometimes not exactly the opposite but still complimentary
(colors that are analogous to the complimentary color.)
I hope I didn't confuse you. :P

So, since I chose this lime green hair I chose a purpley 
mermaid tail with various pinks... I don't know
I think it goes together okay...  
I was going to go with a bluish or greenish hue
for the skin and then thought we have been 
having blackouts because of the storm here in the Bay Area. LOL  
This is how I also chose my coloring... the weather and upcoming events. 
(haha yea don't laugh)

Alright... too much rambling on my behalf
here is my card...

Audrina - Make a Splash  was so much fun to color! 
Since it was raining so much all I could think about was 
WATER and I chose to color a little mermaid for you all. :)

The ocean floor is a rubber stamp called 
Sandy Seafloor Rubber Stamp from Make It Crafty
but I actually got it from The Stamp Room, one of my
favorite small business crafty shops but
it's closing down :( Make sure you stop by Kina's shop
to give her some support- her customer service is AMAZING!

The scalloped die is Fancy Frame Dies from Craftin Desert Divas
The white rectangle die is  Stitched Rectangular Frame Dies & More
From My Creative Time.

I chose Copic BG01 for the water making sure
that I gave it at least 3 coats- that is very important so it doesn't look
too streaky and doesn't really matter if it doesn't look
completely the same color since some areas will touch and 
it will have more that 3 coats, it is under water after all and 
water is constantly in motion and reflects lights and shadows in different directions.

Now for the bubbles you wants to use a much lighter color
I chose Copic B000, this sort of bleaches some of the color out
but not completely... just draw some random circles and fill them in
and they don't have to be perfect
in fact, making them a little more wonky will make them somewhat realistic.
Lastly where ever your light source is coming from you want to use
the Copic Blender (Copic 0) and highlight and finalize that water bubble look - 
I chose my light to come from the left and 
I don't always follow light source since light is tricky but I try.

I hope you get to try it out some day with this cutie. 
Here is a closer look at her and the subtle water bubbles too. :)
I used one of my favorite pens - Sakura Clear Star Gellyroll
to give her some sparkle on her star and the pearls on her hair.
I used Copic Opaque White to highlight her eyes
I don't know why I keep using the brush it comes with 
I made a big glob on her eye and had to make the eye-lights
different than I normally do. LOL   

I usually don't talk this much in person... 
(just in my crazy head. LOL) 

I hope you have a lovely weekend
enjoy it to the max!!! 

Thanks for stopping by,


Monday, January 18, 2016

Friendship card with Brittney stamp

Hello Everyone!

A little late than usual... have been busier than normal... and here I thought I was going to get a little break when the kids (2/4) went bak to school. LOL   Just wanted to pop in and show you a card that I worked over the weekend. My kids' Coding teacher was the inspiration for the way I made the hair on the image. She has a different hairstyle now but before the Holiday/Christmas break she had Gucci braids. This stamp in particular has nice chunky sections of hair where it is easier for beginners to color but if you're not so much a beginner like myself... I also took the freedom to make them into braids... Gucci braids. :P


Here is a bit of my process:
First stamp with Memento Desert Sand
Then trace/outline with a black Copic Multiliner over the eyelash line and the eyelashes
(try to be careful to keep the artist's lines)
Now if you stamp this in black or a darker color the iris will be all black 
or whatever color you chose to stamp and it will be just a big pupil. 
It's cute either way but since I used Desert Sand I am 
able to personalize the iris color and just fill in a smaller pupil.
Don't forget the inside of the mouth will be dark as well.
Then I used a Sepia Copic Multiliner to add in braids but
I wasn't very maticulous with the braid shapes as long
as you can clearly see that they are braids and that they weren't too skinny.


Next you can color the way you want but
for me I use the main color of the skin as a light first layer.
(Here you can see the hair sections a little clearer I just outlined or traced over them.)

Just as in applying make-up you want to contour your face to give it dimension.
You can proceed on to adding more light layers until happy with your results
before you press the color onto the paper. 

Here is my completed card.
(please excuse my lighting it was night time and it was a little... meh when I took the picture)
The scalloped rectangle card is from SVG Cutting Files here is the link with those card bases
The dies are from My Creative Time.
The paper is from Prima Marketing Lyric Collection
I hope you liked my card and teeny weeny tutorial. 

I hope you all have a great 
Martin Luther King Jr. Day!
I'm planning to take my kids to the Richmond Greenway
where every year there is a collaborate effort from the community
to celebrate Martin Luther King National Day of Service.
It's a little late in the day for us but we're still going.

Catch up with you all later!
Thank you for looking. 
Katya Bess


Wednesday, July 18, 2012

Hello Kitty Composition Book & Bookmark

Hello Everyone!

Hope all is well. I finally finished my first altered composition book. I used my Cricut Expression to make the shapes and letters. I made this especially for Rosie Mini's challenge: Hello Kitty Birthday Challenge. Here is the link: http://www.scraplovingminis.blogspot.com/2012/06/hello-kitty-birthday-challenge.html

Rosie's daughter is turning 19 years old TODAY! Happy Birthday Ruth! She loves H.K. as so does my daughter and myself.
I left space at the top to "personalize with a name"

I used my Hello Kitty Greetings Cartridge to alter the composition book and make the tiny bookmark. I now kick myself in the butt for not buying the Hello Kitty Font when I had the chance; I went on eBay to "try" to buy it and ALL and I mean ALL listings were over $100.00 that's crazy! I just used Baby Steps cartridge to create the font this time. I embossed the glasses on the big Kitty and the small Kitty (LOL) to give them that "shiny" look.

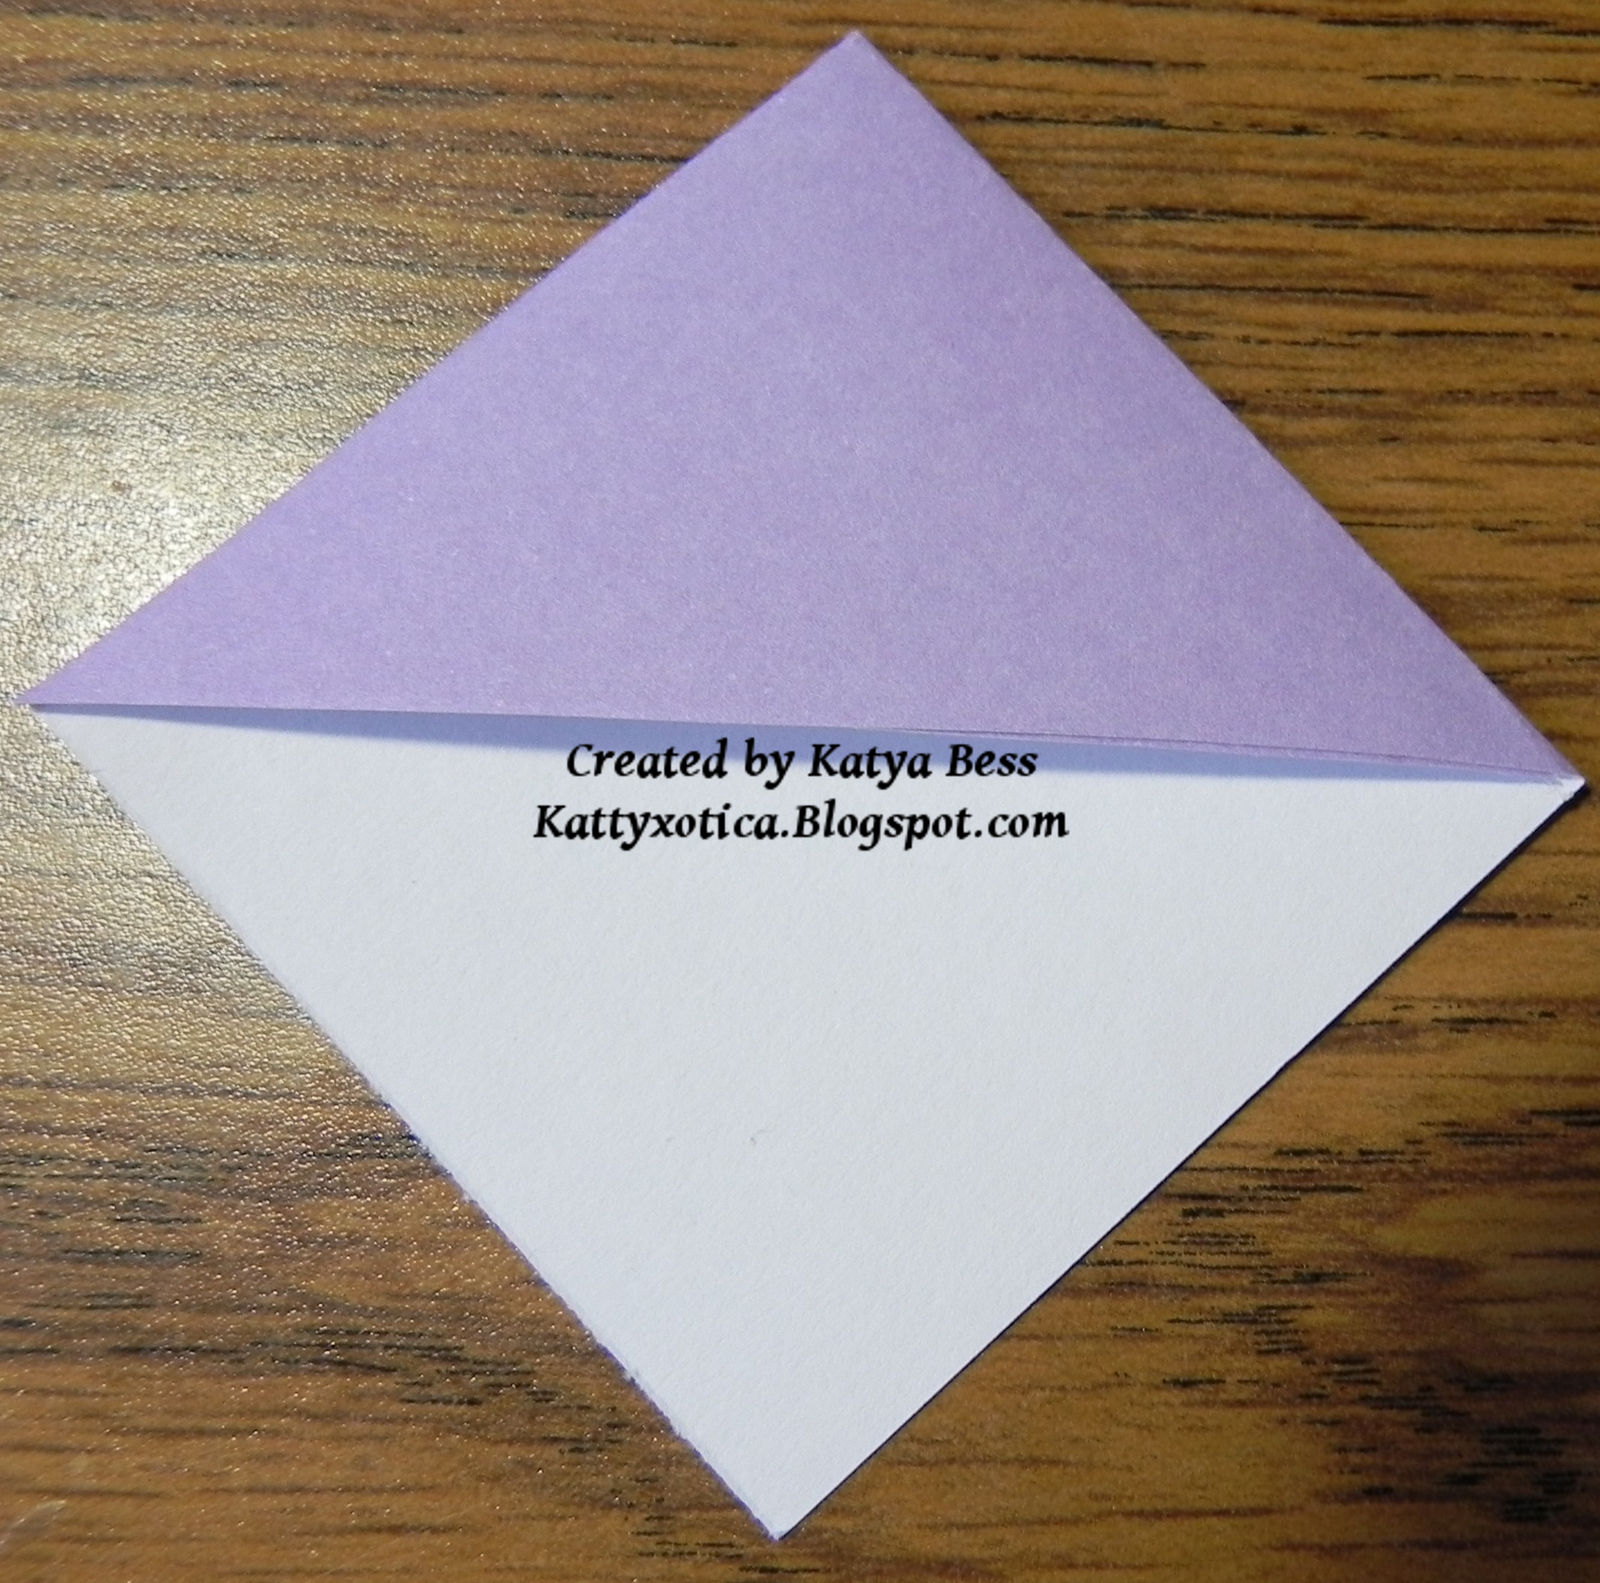
Here is a "mini bookmark tutorial:"
With a square about 4 inches or so. Mine was 3&3/4 by 3&3/4
fold in in quarters. Cut the as shown in the pix. You'll have
1 square and 2 triangles that you can toss or keep as scraps.
on one of the triangle flaps I also cut just a sliver because
when I folded it down it created a little bulk. 

Fold in this fashion...

use bone folder if necessary to make the crisp folds

paste your nerdy Hello Kitty.
Finished bookmark


Hope you had fun... now to link up at Rosie's place.

Thanks for visiting.

-Katya Bess