Tuesday, March 13, 2012

Kid's Card Swap hosted by Saturated Canary

Hello Everyone!

I hope everyone is doing well. Last month I discovered a new blog (well for me it's a new blog) http://saturatedcanary.blogspot.com/ by Krista Smith. I really love her work! So one day Krista put up a challenge sort of like a pen pal for the kids by making cards and and it had to have one of her images. So before I signed up I asked Jade is she wanted to make a card for another little boy or little girl; of course I made the decision about being able to send the card somewhere other than USA if need be.

A few days later I received an e-mail with a name of little girl from England, her name is Emily. Jade got excited and said she wanted to make her a Valentine's Day card. So I pulled some of my markers (that's what she wanted to color with), some Stikles, a little bit color pencils, rubber stamps, embossing powder, Spellbinders and of course a digi image from the Saturated Canary. During the works and after it was a huge mess in my little crafty space, "She gets it from her mama..." LOL (only some might get that one- rap songs).

                       Here she is using some makers. She's so concentrated on her coloring even has her tongue out
                             She said she wanted to color her hair is Yellow I told her its called Blonde.

                             Of course she can't make a card without glitter somewhere
             She wanted a window card but needed help gluing 

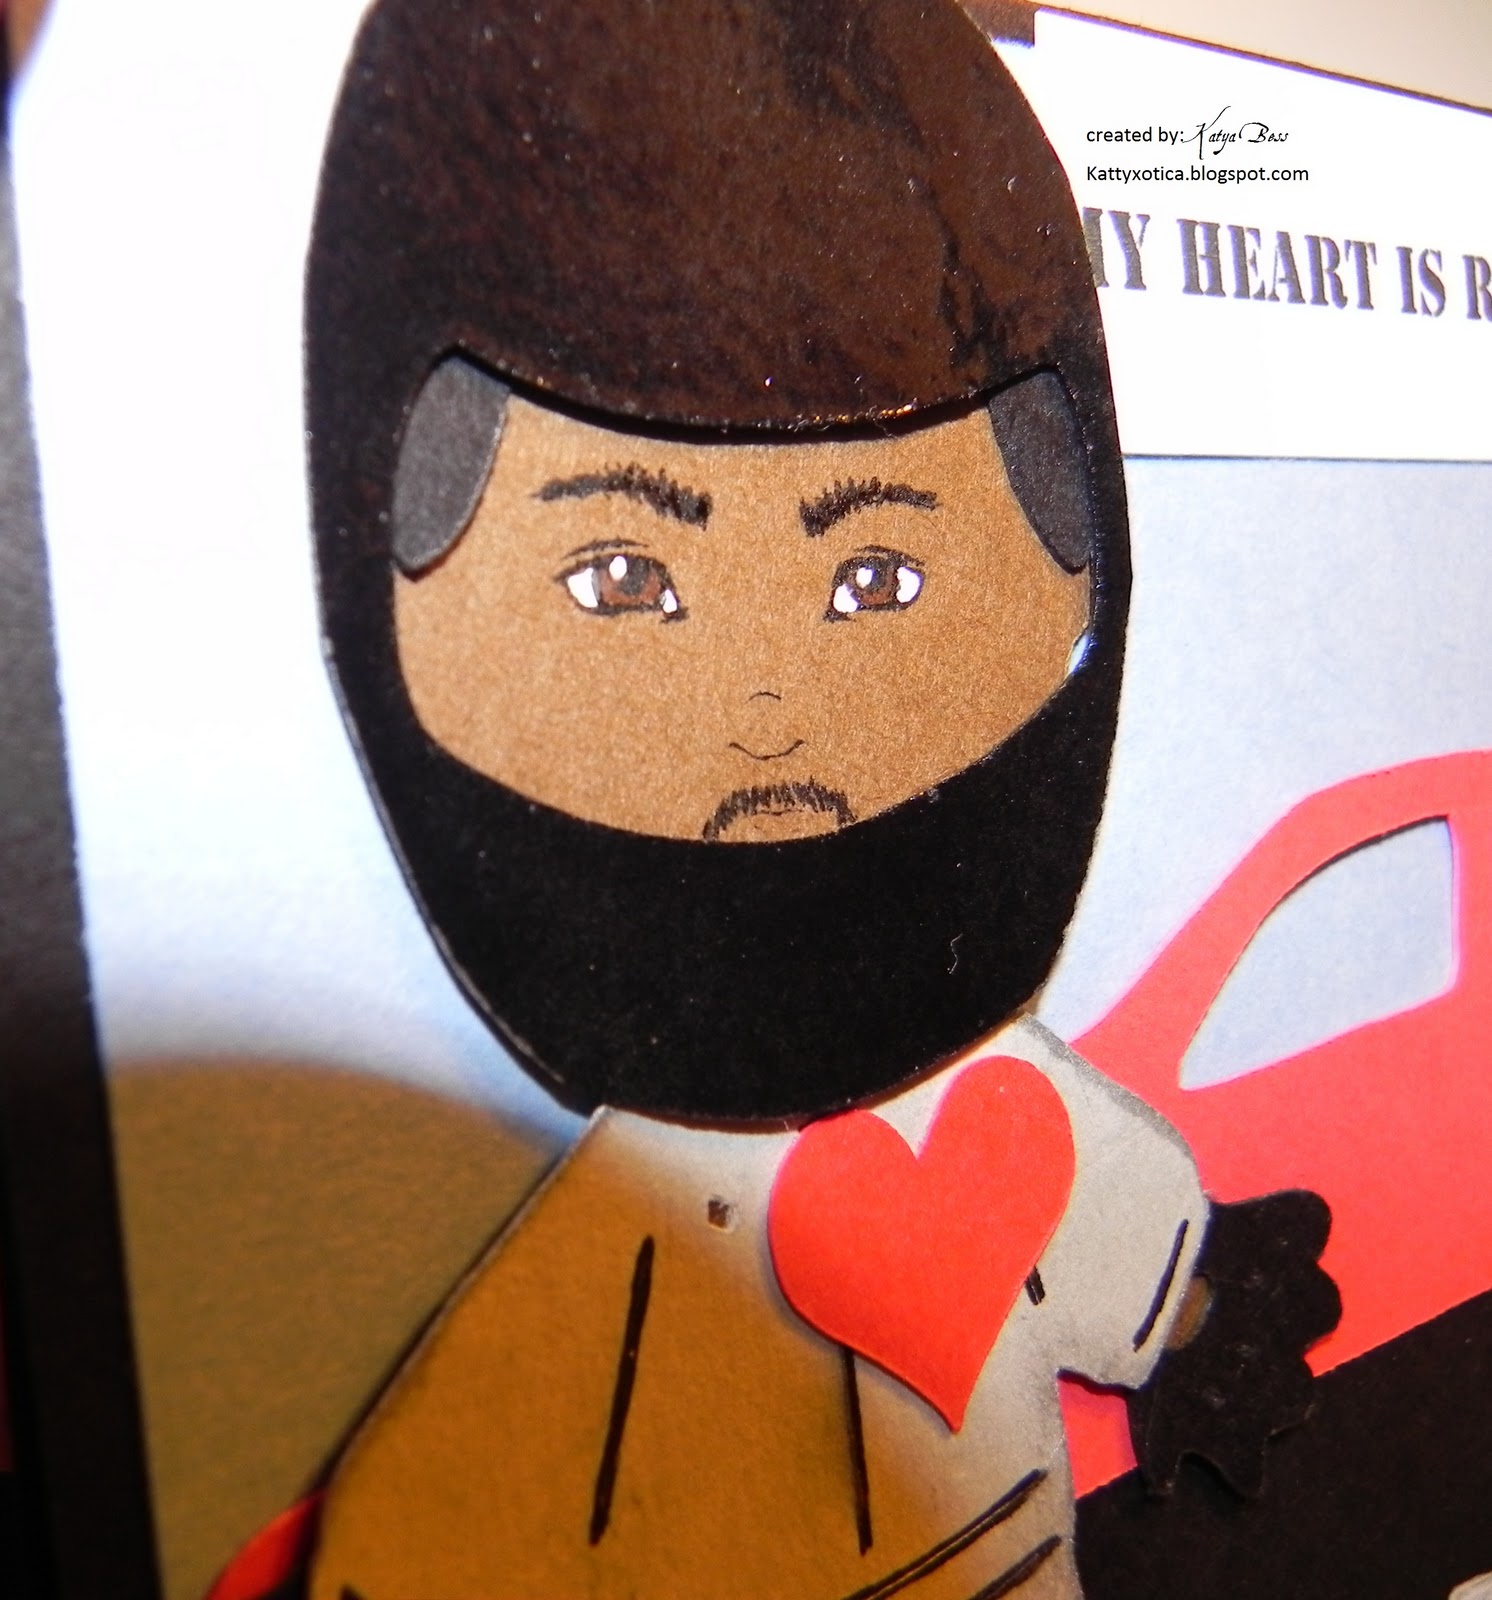
She also couldn't wait to use my ATG gun and likes to roll the crank on the cuddle bug because she wanted to use the the die with the hearts for Valentine's Day.  She also wanted to emboss but I didn't want her to use the heat gun- she probably would've burned a hole on the paper but she used her own heart stamp which I borrow sometimes heehee. 


Here she is again with her complete card but for 
some reason she wanted to change her pajamas (she does this a lot)
and got the munchies so grabbed herself a banana for the picture.

I forgot to take a picture but Jade added some Hello Kitty stickers 
(she's a sticker fanatic.) I also ran a pink envelope
through the printer and added the same digi 
stamp to the front just small scale.

When we went to the post office she wanted to hand it to the attendant herself so it can get weighed and get proper postage. Once the letter was sent off she kept talking about Emily and kept asking she wanted to visit, "Mom can we go to Emily's house today?" I too had to show her a map... google maps lol. I also had to show her where other family members live to compare how far Emily really is since we're in California USA and she's in England UK. I tried to tell her a few things that are different from our countries even the way we speak. I tried to show her some youtube videos on how people in England speak English but for some reason I mostly found Americans trying to speak like the English LOL. There was a little trouble with Jade getting her card but in the end it was my mistake :/ [sighs] When Jade got it she was so happy she wanted to call her granny and tell her she got Royal Mail like the princesses from Disney. She she also received stickers (that made her day too.)

"I got Royal Mail like the Disney princesses," she said.

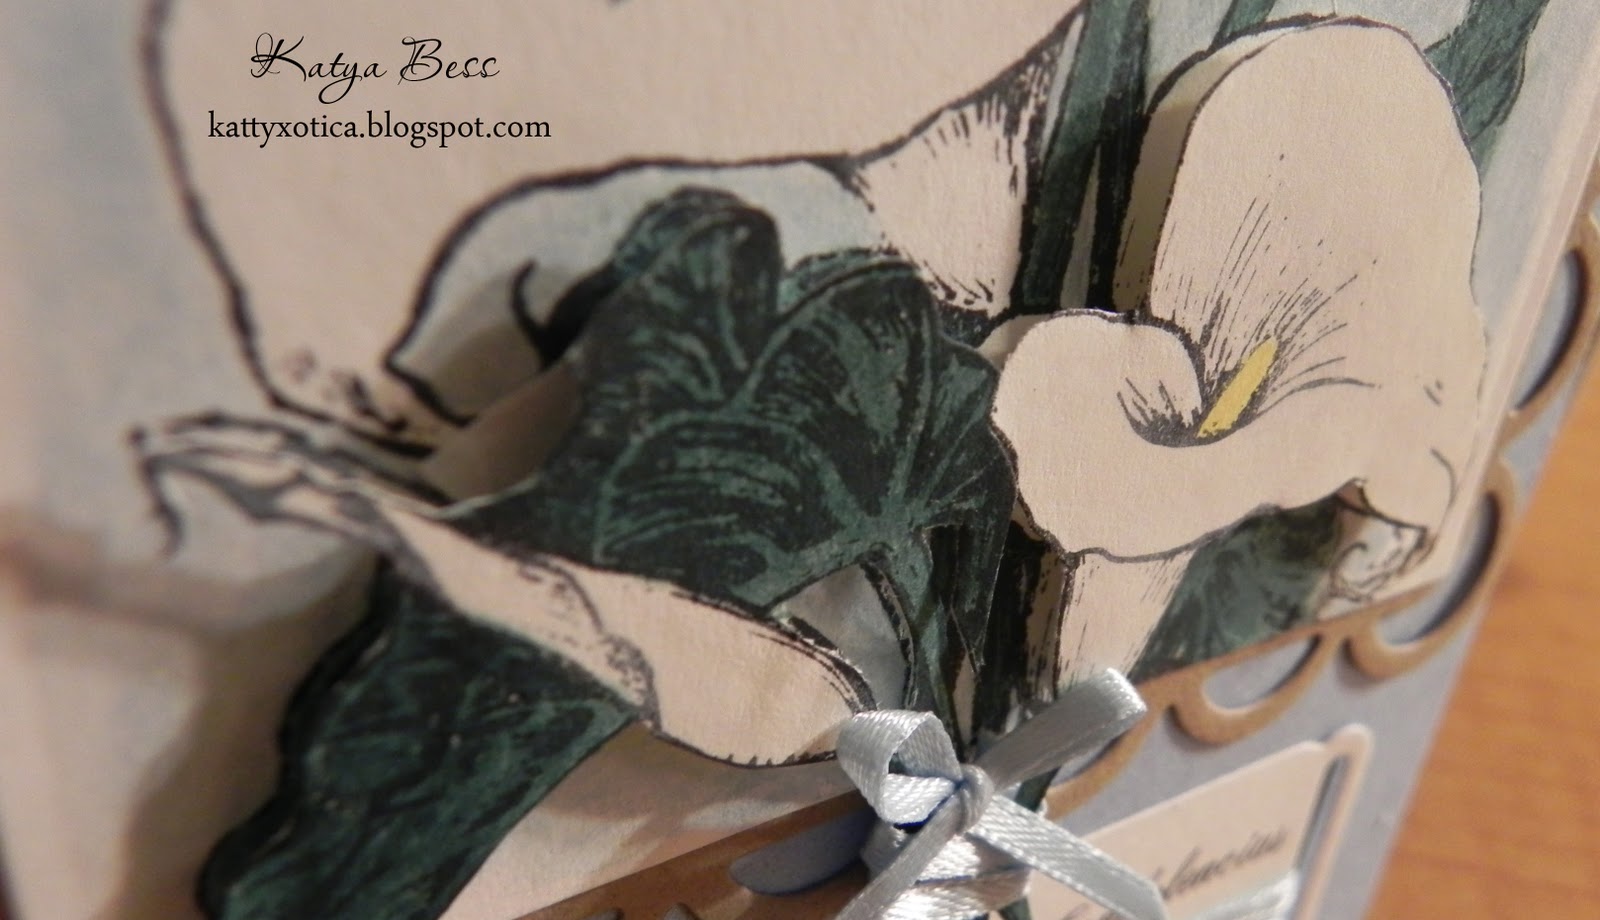
Here's Emily's card to Jade. She got the stickers and tucked them in her overall's front pocket.

This whole experience was such a delight; getting to know another crafty mom (Sarah)in another way than just commenting on blogs and getting the kiddos involved in our hobby and making a new friend.


Thank you Krista for the opportunity. And thanks everyone for visiting.


Katya Bess


P.S.
When Sarah, Emily's mom first e-mailed me and maybe another e-mail or two she said don't be surprised to see that emily likes to color people with odd skin colors and hair colors lol... another thing about geography... we live very close to Berkeley and San Francisco, CA so we see a lot of people with lots of weird colors on their hair and lots of colors on their skin (a.k.a. tattoos/body art.) I think if Emily saw my type of neighbors she would have a field of colors to play with. Here is a picture I took of Jade- I paint her face for fun. Sarah, Jade said, "Please tell Emily blue faces are all right with me."


Tuesday, February 7, 2012

Yet another Calla Lily: Thank You card

Hello All! Hope all is well with everyone.

Finished this one about 2 days ago and just now posting LOL. I've used this stamp several times before. I told myself that I bought all of these clear and rubber stamps and don't use them as much as I would like to -- so this year I will try to use most of them if not all. Even if the holiday already passed I'm going to make a card with a stamp... (yikes lots of work) But I will try to use at least 10 rubber stamps and complete cards before buying another stamp... maybe a digi... AND even those are under used. 

The small die tag and stamp are from My Creative Time stamps.

Not much as you can see but I colored the callas in some of the different colors that they come
just to make it a little more cheerful since most people (that I know)
seem to identify Calla Lilies for sympathy or sometimes wedding. 
I just wanted to create a simple card to give anytime.
And speaking of not buying any more stamps lol I found a little one, a calla lily stamp from the same company so perfect for the inside of the card (F-1018). Bought that small stamp  last week. So yes no more stamps for me until I've created enough to show for what I've purchased. I will try not to window/screen shop cause then I'll be tempted.

Hugs Everyone.

Katya Bess

Thursday, January 19, 2012

My Creative Time Thursday Throwback Challenge - Sports

Hello Everyone!


I created a card for Emma's challenge at My Creative Time.


 *** This challenge is a SPORTS CHALLENGE! Use any sports cartridge you have & if you don't own any sports theme carts, just use anything you have & just make sure it has something to do w/sports!:)


Here is the actual link: http://www.creativetimeforme.com/search/label/Throwback%20Thursday


My choice was: MOTORSPORTS!
It's masculine, it's valentine-ish and it's a sport. Hope you like it. 
I use Paperdolls cart to create this card I really tried my best to use only one cartridge and I did!

I use a watermark and clear embossing powder to make the helmet shiny.


Thanks for stopping by,

Katya


Thursday, December 22, 2011

For the hubby - Just for fun

Hello Everybody!

Here's a little card I made for my hubby, just for fun. It's his lol but I have it displaying on my side of the office... teeheehee! I had pre-colored this Cheeky Kitty a while back and gave it a twist by drawing a "Catwoman" mask. This was inspired by my love of  watching old Catwoman and Batman scenes as a kid and often would "borrow" my some of my brothers comic books.
Here is a link of where I got my digi image from: http://thegreetingfarm.com/digital/chibi-farm-helper-digi.html


The Cheeky Kitty I colored in colored pencils and the faux stitching was done with a white gelly roll and the lips with a gelly roll too.

The Sentiment I printed that on the computer and used a Spellbinders die from the Ribbon Tag Trio Two set - I just cut off the ribbon holes. 

I added some Darice Self-Stick Gems 'cause our Catwoman is all about her diamonds!

The Cityscape was cut with my cricut and tweaked the width and height to fit the card.

The Moon was also cut with the cricut but that can be any circle shape from any cartridge that has circles.

For the moonlight in the sky I lightly colored the blue cartdstock in the area of the moon.

For the whip.... oh yea!!! lol j/k... more like ouch! I used embroidery floss and just make a chain by doing  simple slip knots like the first row of knitting. Then I used some of the hubby's black electrical tape lol and made the whip handle. The very end of the whip has a few speckles of stickles glitter glue.

I hope everyone enjoyed the visit. Thanks for stopping by. Grrrr....... or Meow!


Hugs,
Katya Bess

Tuesday, December 20, 2011

Christmas Season Birthday Card


Hello Everyone!

For the Sentiment I used a stamp from My Creative Time
The stamp set is called: Gift Card Sentiments

As you can see I'm too chicken to cut my stamp so I just inked
part of the stamp and wrapped the other part around the block 
and it's okay 'cause it somewhat sticks to the block. (If I had a second set of these stamps I would be
bold enough to cut one set to interchange words)

Here is my finished front of the card.

I used the Spellbinders: Layered Poinsettia dies
the inside I used Viva Decor Pearl Pen (still working on making the "pearls")
I also used a die from the Spellbinders: Foliage set

The cardstock paper is from Recollections: Precious Metals
the background and so are the poinsettias 

For sentiment layer I used Spellbinders: Lattice Rectangles
 Thank you so much for visiting my page.
Hugs,

Katya Bess

Monday, December 12, 2011

Thank You Card - Tiger Lily

Good Morning Everyone!

Before I pick up my baby girl from pre-school I will post a card that I finished last week. I don't know if you're tired of these flower cards but I fell in love with making 3D flowers. I got this idea from 
So I can't take credit for the idea or how the flower is assembled- the only thing is that instead of the punches she is using I used my cricut and and Gypsy to make my pedals and stamens. 


I shaped the petals and stamens with the McGill styluses she uses in the video- much better then using the end-caps of my pens or markers. 


I did come up with an idea for Lily buds because I've gotten lilies and I've sent lilies for a cousin and all of the lilies weren't blossomed. To make the buds I cut two green pieces of paper sort of in an elongated oval shapes and shaped each one individually. Then paste them together on one edge only and shape it in a cup again in case it flatten out a little.  After that I used some pearlescents paint (orange) since buds usually show the color of the lily. I also used pearlescent orange paint to paint only the centers of each peatal before I added the little specks with my marker (let it dry of course so I made lots of petals to use another time) This doesn't have to be pearlescent paint but that's the only type of paint I had a the time... but it did turn out okay it gave it a light and pretty shimmer.


Please excuse my dingy lighting it was night time and my lamp is not that bright for picture taking.


Most of the time I add water to my card stock when I shape the petals or leaves to make flowers but normally I make them much smaller so this time the first Lily I made looks a bit wrinkled and the second one I didn't use water at all and it has the smoother look. I guess it just depends on the size of the flower. 


Hope you liked them. Thank you so much for stopping by.
Have a fun, crafty and blessed day!


Wednesday, November 30, 2011

Sympathy Cards

Hi Everyone,

Hope all is well and enjoying your day.

My mother wanted my to create several different cards for some relatives that lost their mother (which was my mother's only remaining aunt from her father's side)

Completed front.

 Spellbinders

The Hydrangea is from the Walk In My Garden cricut cartridge. 
Sprits the lavender cardstock with two glimmer mists 
Mel's Diner & Puerto Rico

 The little "pearls" are the inside of flowers were done with
Viva Decor Perlen-Pen #201 (I thought it was "pearl pen" but that one is spell like that on the label)
Still working on more cards for her.
She wants them to be able to be mailed plus they're going out of the country...
So I can't make them bulky or too 3D

I've shown this Spellbinders technique that I learned for a couple of gals on YouTube

 Here is the completed front

This is the inside- left some room for her to write something if she wants.


 This is the Calla Lily
araceae stamp from PSX K-1696
I pop-dotted it just for a little dimension- not too much.
 Full front


Here is another card with the same stamp but here I tried
some "real stitching" I love it- still need practice on sewing straight.

I paper pieced the calla lilies to make them "pop" by contrast of color rather
than using pop dots.

Little too much flash but I finished the card at night and had the
worst lighting ever- so I used the flash.

I didn't want to do anything too fancy to the inside but inked a
little part of the same stamp I used on the front of the card and used it
here as well for to add a little interest.

This is my aunt with one of her horses (one of many farm animals).

Thanks for stopping by.
Hope you like them.

Hugs,

Katya Bess


Saturday, November 5, 2011

Thank You Cards

Good evening everyone,

Just wanted to share a card I did a little while ago and haven't had a chance to post it. Hope you like it.

My brother Francisco wanted a thank you card for a counselor/mentor. I used Spellbinders Rose Creations to make the rose. I used a quote and poem by Leo F. Buscaglia.

Front of the card

you can see some of the dimension here from my Spellbinders Roses 
and foliage. The butterfly is from one of my Martha Stewart Cricut Cartridges. so is the lattice fence which I used two to weld together and then had to cut a few little pieces with an x-acto knife.


The front again slightly different lighting

That's a stamp I had which is what you can see through the lattice fence 
from the front.

Added more paper to the back to add more weight 
since the front of the card is so heavy from the roses I made. 

Thanks for visiting. Hope you enjoyed looking around. 

-Katya 

Saturday, October 1, 2011

Happy World Card Making Day

Hello Everyone and Happy World Card Making Day!!!

All day I've been on The Greeting Farm Release Chatter Day which is at Splitcoasters now and I'm a newbie there too. I've been on bloghops, dealing with my kids and making cards --- wheew no housework. Oh yea, I take that back... I did wash clothes at 7:00AM-ish but that was it because I was determined to get some cards done today.

This one I'm entering on http://www.mypinkstamper.com/2011/10/christmas-card-challenge.html

Here you can see the items I used to color and cut my digi stampCheeky Kitty from The Greeting Farm

Here's a close up of the colored image - a little bid of bad lighting though.


 For the Christmas background specialty paper I used K&Company: Yuletide
I typed my own sentiment. All I want for Christmas is Santa's bad boy list
I also typed the "scroll" for Santa's Naughty list with bad boy character names 
from" Being Human, True Blood and Twilight lol Can't you tell I'm a Vampire
and Warewolf tv show fan?
Okay, for the fireplace and for the Poinsettia I used Cricut Cartridge Joys of the Season.

I really hope you gals and guys liked my card. It's a little more for the nice but sometimes naughty ;)

Thanks for stopping by and hopefully everyone is have a fun time!

*hugs* 

Katya Bess


Wednesday, August 24, 2011

Encouragement card for 1 of my brother's

Hi everyone,

Hope all is well with you. Yes, I have been M.I.A. but I have been working on some projects (squeezing some in mommy life and daughter's school time.) I haven't been too lazy on crafting I promise ;)

The card here is almost finished but just wanted to take a pix before I made any changes... which I didn't make much in the end.

He is the finished card. I didn't make too many changes as you can see.
I just added a small tag with his name (I cut that out by hand, didn't feel like
looking for a tag to cut and power my Cricut.) Added a charm that reads
"HAND made with LOVE"

The Rose dies are from Spellbinder's Donna Salazar's Rose Creations Die
The rose leaves are also from Spellbinder's and the die is from the Foliage set
My "brother's doll is from Cricut's Paper Doll dress Up cartridge (I trimmed off the cheeks/jaw 
because I don't like the big cheeks all of the time plus my bro has a skinny face. lol)
The iron fence is from Cricut Ornamental Iron cartridge. I love all of the intricate designs but 
what sucks it's cleaning up all the left overs on the mat... so if you have a second mat just 
have it ready so it won't slow you down if you're on a "crafting roll" :)
The face stamps are from Peachy Keen Stamps. 

This is the back of the card
it's a Spellbinder's Shapeabilities Dies Ribbon Tag Trio 2 
I just cut the the part that you stick the ribbon in off. 
The wording was done on Open Office but I'm sure 
someone can do it with Microsoft Word.


Side view of the card just so you can see the dimension.


Thank you so much for stooping by. I know I posted it late on my blogspot.

Have a great night.

Katya Bess