Showing posts with label Embossing. Show all posts

Thursday, December 5, 2019

7 Kids Crafts: Snowy Christmas Blessings

Hello Everyone!

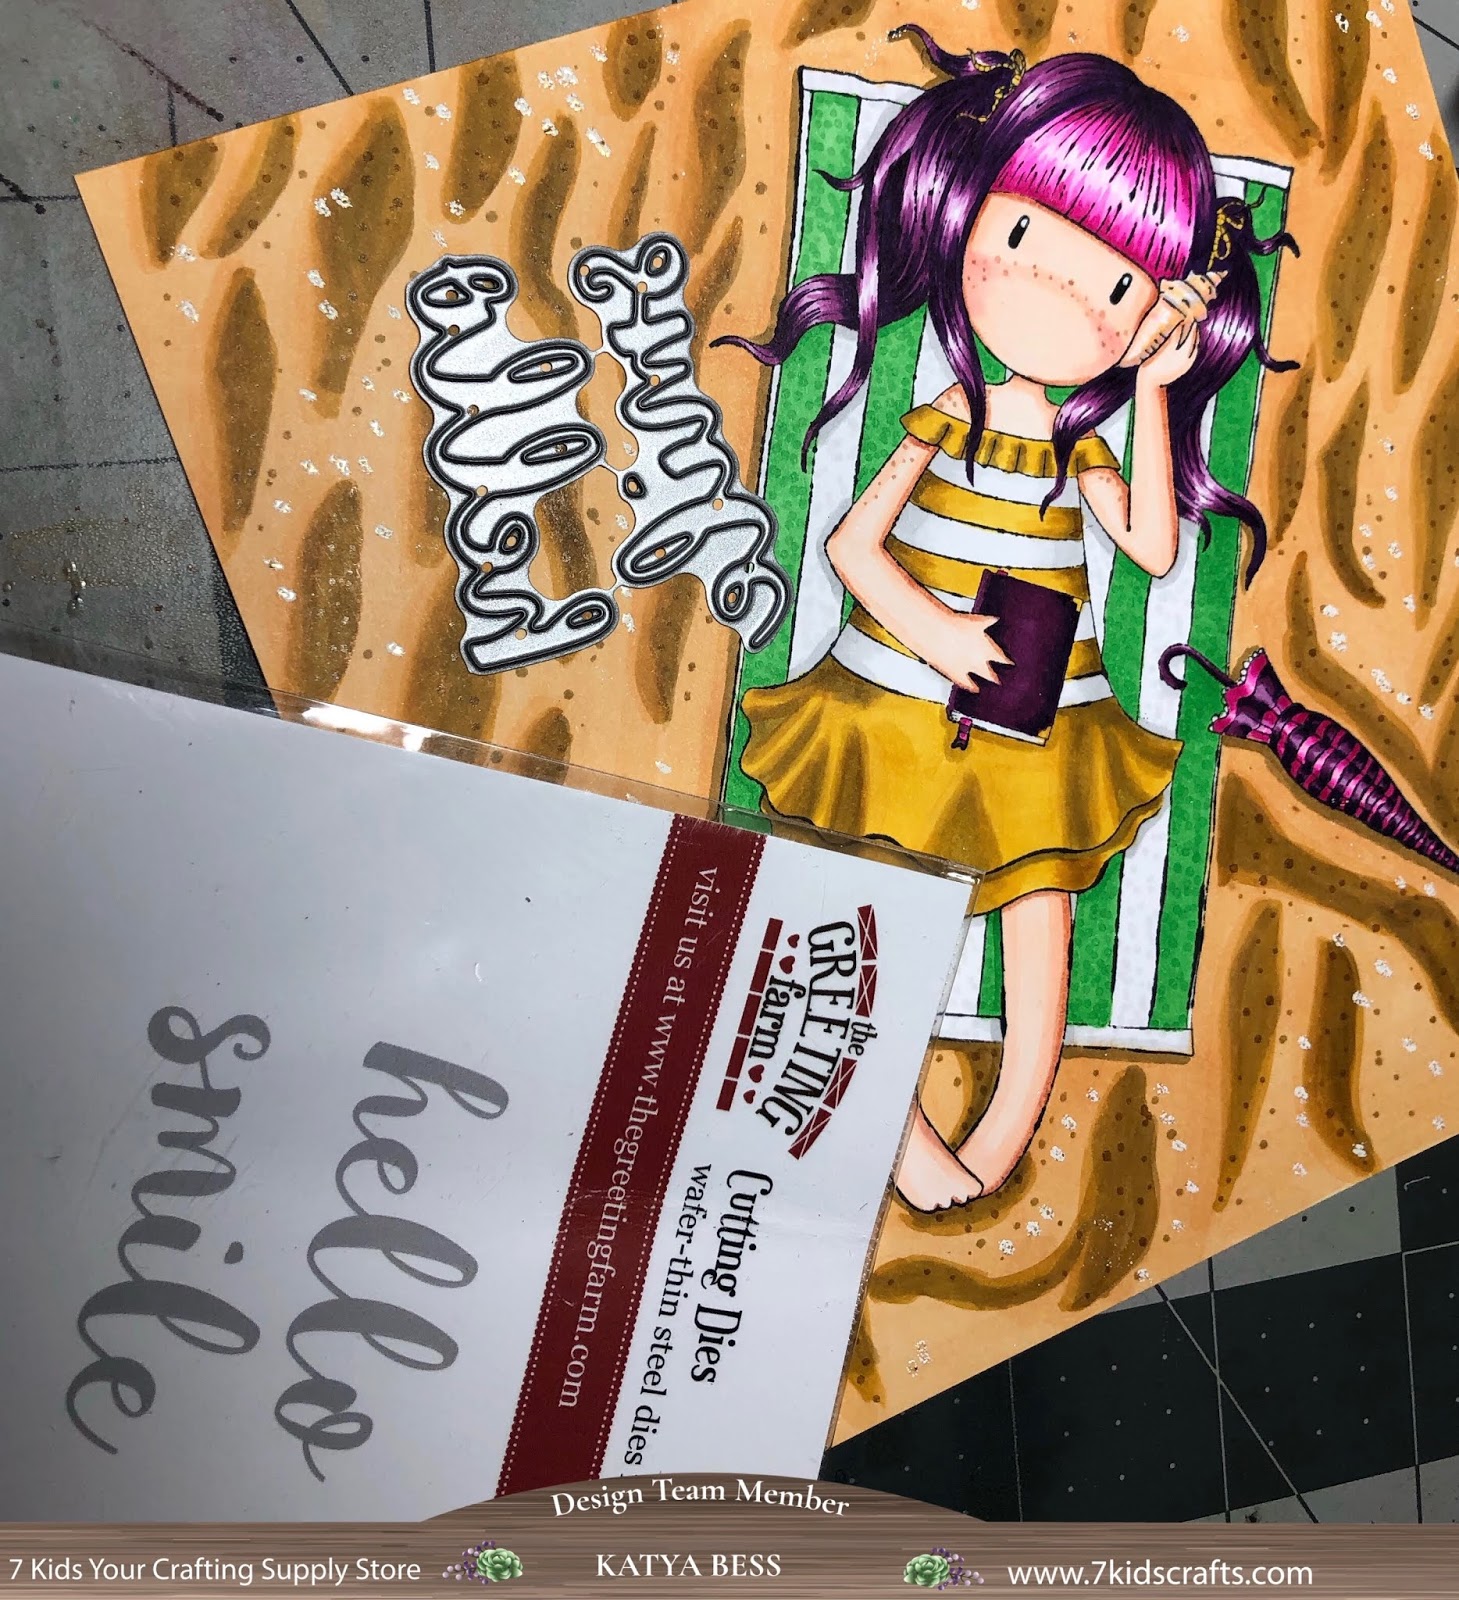
Welcome to the Christmas Fairy Release week by Sweet November Digital Stamps. I am excited to share the card I made today using:  Christmas Pine Fairy. I colored her up with Copic markers and and little bit of Polychromos for shading/molding the facial features. For the wings I used Spectrum Noir Sparkle brush pend and Uni-ball Signo Sparkling Gold. The die set is by Hello Bluebird and it's Snowy Sky Scene die. I used Distress Oxides for the background.


There are in the four pretty little Christmas fairies that were released for you all to enjoy. You can find them here:

Christmas Pine Fairy
Christmas Holly Fairy
Christmas Mistletoe Fairy
Christmas Poinsettia Fairy
and if you missed this month's Freebie stamp you can still purchase it here: Jingle


Here's a little excerpt from the Sweet November team about Pine Fairy:

"Some say that Pine Fairy coined the term 'rustic elegance'. She is all about finding the beauty in natural elements when it comes time to decorate for the holidays. From pine cone wreaths bathed in the glow of bees wax candles to the classic Christmas tree decked out with nuts and winter berries, she knows that Christmas doesn't have to be bright and flashy to be beautiful."


She does look very elegant and reminded me of those High School Senior portraits we take
for the yearbook. heehee
So I enlarged her and cropped her so I can give her more details on the face. 

Here I had to tilt the card and changed the lighting again so you can see her 
shimmery wings and embossed stamp from 
Our Daily Bread Designs. 

I hope that you like the card and hope that you can play along for the month of December at the 
7 Kids Customers Create! Facebook page

You can also share all of your creations you've done from
items Kelly carries in her store. 
Thank you so much for stopping by. 
Katya Bess

Monday, November 11, 2019

Thank You FOR EVERYTHING

Hello Crafty Friends,

I hope you're having a lovely day.  I had a lovely early morning working on the coloring for the background of this little scene using ColourCraft Brusho pigment powders. For the tree and leaves the main color I used is: Gamboge, then a little bit of Leaf Green and a tiny bit of Scarlet. I really love the effects that the Brusho creates and I purchased them for foliage and backgrounds in mind. Next, although not in the 7 Kids Craft Store, Kelly the owner carries a lot of Hello Bluebird items, especially the newer releases. The die set is called Oak Tree Scene Die and the stamp set I used is called Fall Friends.


I used Copic markes to color the critters and the pumpkins. 
For the sentiment I used a gold tinsel embossing powder 
from Recollections that I found at Michael's. 

Here's a little bit of how it looked when I finished coloring in the tree
and adding Brusho to the leaves. To color the grass and the tree trunk
I used Spectrum Noir marker because they are a bit juicier.

Thank you so much for stopping by.

Katya Bess

Saturday, April 20, 2019

7 Kids Crafts: Nami Never Stop Dreaming!

Hello Everybody!


There is lots of fun going on this week over at 7 KIDS Customers Create! Facebook Group there are three vault images (originally released in 2013.) These vault images will be available only for one week, check them out here: Sweet November stamps.

For today's card I'm featuring: Sweet November - Nami you can also chose her little mermaid sisters Sweet November - Nalu or Sweet November - Hanalei or you can just get them all because they are all just so adorable! Another way to get these cuties is by playing along during the live videos or playing along in the games for a chance to win one or all... I think it depends on the game. Remember the games are here: 7 KIDS Customers Create! Facebook Group

I wanted to create a simple underwater scene. Nami is already in a seated position so it was easy to draw/color sand under her without too much technical thinking.  I colored her up with Copic markers, I added a little shimmer to her tail with a Spectrum Noir sparkle pen and added a little Stampendous! embsossing enamel powder to the sand to give it some texture. The "Never stop dreaming!" sentiment is actually from a retired Kraftin' Kimmie stamp set called Serena Sparkles.


Sweet November - Nami 
I randomly freehand some starfish and a shell,
one of them looks like a wonky banana starfish... lol

Some of the Copic colors I used:
BG32, BG34
YR61, YR12, YR24, Y,15 Y17, Y06
Y23, Y26, Y28

Many of the colors were repeated throughout and
some I may had added one more color,
for example the ocean, the eyes and seashell. 

Here I turned off some of my lights and only left one so you can see
the shimmer a lot better. 


The colors I chose for her were inspired by some of the gold fish
in one of our tanks. My daughter Daenerys says she looks like a
mermaid Repunzel. heehee

Thank you so much for visiting.

Katya Bess


Wednesday, April 17, 2019

7 Kids Crafts: Hibiscus

Hello Everyone!

Here is another new image I want to share with you using Red Hibiscus Designs - Botanicals - Hibiscus by artist Luisiana Lowry, who also designs for www.7kidscrafts.com. You can find the rest of her beautiful digital art here: Red Hibiscus Design digial stamps


Copic Markers:
RV21, RV23, RV25, Y08, T1, N2 
Y14, YG17

Distress Ink: 
Mowed Lawn

Taylored Expressions 6x6 Designer Stencil:
Mosaic Leaves

The Greeting Farm sentiment: 
Bloom Kit

Rectangle dies is from:
My Creative Time


When I saw this hibiscus, I thought about Hawaaii and it's lush green landscapes
with many colorful flowers and yummy fruit. 
I have this stencil from Taylored Expressions that I wanted to use. 
First I masked the hibiscus with a printer paper mask I made. Then,
I used Mown Lawn Distress Ink all around it but tried not to be
too heavy. When I had enough coverage I place the stencil over the 
card layer and used the same Mown Lawn Distress Ink. I wanted to have
leaves in the background but I wanted them to be subtle. 
I used a rectangle die from My Creative time and sort of gaged
where I wanted to place the sentiment and chose one from The Greeting Farm's  
Bloom rubber stamp kit. I used Gold tinsel embossing powder from Martha Stewart.


Here you can see the tinsel embossing a lot better. 

I hope you liked the card and I hope to see you all over at
https://www.facebook.com/groups/7kidscreate/
for all of the fun stamp releases and events going on.

Thank you for visiting,

Katya Bess 

Friday, April 5, 2019

You're a Khaleesi

Hello Everyone!

Just having a little fun with the stamps and stencils from Stamp AnnieThing's Conquer The World - Grab and Go! set Many of the Crafty friends that interact with me know that I'm a Game of Thrones Fan. Before anyone told me just by one hint that Annie gave I knew this set would be a Game of Thrones themed set. LOL It was too easy to guess but she wouldn't tell me when I asked the anticipation was eating me up and next thing you know it was sneak peek time and she showed us the stamps. I am over the moon with the Daenerys and the Jon Snow stamps alone and then to get a whole package full of Game of Thrones themed goodies made it even better.

Anyway, here's my card. I colored her up in the color she wore to her wedding to Khal Drogo. 


I colored her up with Copic markers.
Used a stencil that comes in the Grab and Go! set and 
I just used Distress Oxides to lightly dab on and then
added more colored around the edges to frame the image.
The sentiment is also from at stamp set in the same box. 
I then added some Frantage embossing powder from
Stampendous! Lastly I added few silver sequence.

Thank you for visiting.

Katya Bess

I've entered this card at:
Sequins and or Adornments


Saturday, January 12, 2019

7 Kids Crafts: Hello Gorjuss

Hello Crafty Friends,

This is my first time making a card with a Santoro Gorjuss girl stamp that Kelly sent me to work with, it's called Santoro - Gorjuss Girls Stamp - Summer Days. Actually, this month, Kelly at http://www.7kidscrafts.com/ is having a sale with the Docrafts Santoro Gorjuss Girls. It took me a little while to work on this image but it came alright in the end. I also tried out a new technique that I learned from Amy Young's at athousandsheetsofpaper.blogspot.com. The technique was the very first Walk Thru Wednesday theme on the 7 Kids Crafts Newsletter. This die overlay or "Eclipse Technique" is a pretty neat way to use words especially when you want to say a message but don't want the word to overshadow the image which is the focal point. I really loved trying that technique out and I think any person that loves handmade cards will especially appreciate.

On to my Gorjuss - Summer Days


I colored her up with Copic markers which Kelly has at the 7 Kids Crafts store
and one Spectrum Noir marker on Spectrum Noir Paper.


Ink to Stamp the image:
Memento Tuxedo Black

Copic colors used:
E000, E00, E11, R20, R30, R33
RV02, RV04, RV09
V06, V09, V12 
Y15, Y23, Y26
Y14
Y32, R26, Y28
T0, T1
Spectrum Noir:
TN2

The embossing enamel on the sand is from Stampendous! Aged Ivory
The Hello die is from The Greeting Farm
and the rectangle die is from My Creative Time
The A Happy Hello stamp on the envelope is from 
Gina K. Designs.

Here is some of the process photos I did to create this card.

Here I was trying to figure out a sentiment
and position, finally I picked a "hello" from The Greeting Farm

After cutting  down the card layer with the large
rectangle die, I then cut the hello word die.
Make sure to save all of your little negative space
or colored bits, you'll need them later.
(See photo below)

 I cut the "hello" die several times with white cardstock (all not shown)
then glued one down along with the little colored bits.

For more inspiration check out:

and the

Thank you so much for stopping by

Katya Bess


Thursday, August 30, 2018

LMMS: Ximena Felices Fiestas

Hello there! It's time for another Inspirational Thursday. This time I used 
When I saw this image I thought about celebrations there are in Central America
and in Mexico. Where women wear Folkloric dresses of many colors. Sometimes the
dresses are all white, sometimes white with some colorful access and sometimes bold
and bright colors- which I love personally.
I imagined this dancer in a parade on a cobblestone street so I used an embossing folder
from Cuttlebug/Provo Craft. I also used La La Land Crafts die to make de 
"papel picado" decorating above and behind her. 


I colored Polka Dot Pals Ximena with Polychromos color pencils on Kraft Cardstock and fussy cut around her. Then I used mounting foam to add dimension to the card. 


FaberCastell Polychromos color pencils (+1 Prismacolor) used:
Ivory, Walnut Brown, Burnt Siena, Burnt Ochre, Dark Flesh, Middle Cadnium Red and White.
Black, Cold Grey VI, Walnut Brown and White.
Light Cobalt Turquoise, Cobalt Blue, Middle Phthalo Blue,
Crimson, Mauve, Manganese Violet,
Orange Glaze, Light Cadnium Red,
Prismacolor Jasmine and Polychromos Dark Cadnium Yellow
Colors were used on Kraft Cardstock
to check out the other talented design team members 
as well as other LMMS members creations. 

Thank you for stopping by. 

Katya Bess

Saturday, March 31, 2018

Kraftin' Kimmie Guest: Glitter Challenge

Welcome to another fabulous Krafty Challenge!
Are you ready for some krafty fun??

We've got a super easy theme for you this week and we hope you can play along!

This week's challenge is all about GLITTER!!!
Submit your glittery design for your chance to WIN! You have until Friday, April 6th to enter this challenge! Keep in mind, all entries are welcome but you must use a Kraftin' Kimmie Stamp in order to win.
Each Saturday we post a new challenge and you can enter as many times as you like!!! And each submission during the month will enter you into the monthly prize which will be....
a $40 gift voucher to spend in the krafty shop!!! 
What do you think? Worth playin' for? 

We've also got a fun sketch for your inspiration for March! You don't have to use it but if you need a little extra kickstart in your mojo, feel free to use it any time!
Be sure to hop on over to the Krafty Shop this weekend because our FRUGAL FRIDAY SPECIALS are up with FOUR of our amazing stamp sets on 40% OFF! Some of these sets will NOT be restocked in the future so it may be your last chance to snap them up!
Can't wait to see your krafty kreations!! Happy stampin'!


Here is what I created with Glitter!

I wanted to create a fun bookmark for my 10 year old daughter 
Jade Bess she also has a crafty blog http://writteninjade.blogspot.com/ :)
I used Rosie Fair as well as the sentiment that came with it. 
The little magical stars are actually from one of the new releases
Kick Ass Birthday  I used Distress Ink Broken China for the background sky
then I also stamped the stars with Distress Inks Broken China 
to give the background a magical look.
I used Copic Markers to color my image

Check out those glittery wings and stars!I love it! :D
For Glitter I used Spectrum Noir Sparkle Glitter Brush pens for the
wings and skirt. For the Stars I used Sakura Gellyroll Stardust Clear Pen. 
For the gold necklace, wraps on her wrists and waist I used a new
pen I recently found at Michael's and it's called Uni-Ball Impact Gold.
The gold pen pools a little so I used it sparingly and I manipulated it a
corner of a tiny scratch paper . 
Since it this is a book mart I wanted to make sure the glitter didn't rub off
so I used some Stampendous! Stampin' Stuff Embossing Powder: 
Star Dust Transparent and hit that with an embossing/heat gun I found at
Michael's. Oh yea, even the ribbon looks glittery because of it's iridescence.  
Here is how I embossed it since I didn't have yellow glitter paper. 
It's a cheater method... LOL 

Here's the link for the 

Glitter Challenge

at the Kraftin' Kimmie Blog

Thank you so much for visiting.

Katya Bess

Sunday, February 25, 2018

The hurrier I go the behinder I get!

Hello Everyone!

Today I'm showing a card that I started working on yesterday. I had colored the Alice image but for months I hadn't done anything with it. I was watching one of Kim Reid's live video's where she said there was a new challenge with "grass" and that alone gave me an idea of the scene to create with this image. I have created a video of my process of the background but I'm not sure if anyone would really want to watch it... it might be like watching paint dry for some. Plus I have a hard time figuring out what to say. haha.

I used two stamp sets for this plus my own art for the background. 
The stamps are both from Kraftin' Kimmie Stamps
and both are from artist Annie Rodrigue
Alice in Wonderland (Retiring soon)
Fabulous Frames 2! (retired rubber stamp set)
Also the small pocket watch is of a set from Vera Stamps

I found the free printable deck of playing cards at: http://www.dictionup.com/printable-mini-playing-cards/ I just distress them a little and curbed them with a pencil.

I hope you liked my card. 
Thank you for visiting.

Katya Bess


I will be entering this card at:
Grass

Thursday, January 4, 2018

LMMS: Happy Birthday Cupcake!

Hello Everyone! Happy New Year!

This image is a rubber stamp from Little Miss Muffet Stamps, she's called Polka Dot Pals Yang and I used a clear face from the Polka Dot Pals Add-on Faces. I wanted to color her in an African skin tone since it's for one of my Hubby's relatives that has a January birthday. I chose the color red because it's her favorite color and her birth stone is the Garnet.

It took a while for me to finish my card... besides being the holidays, everyone in our household was sick with flu symptoms and all of us had this bad cough. I had no time for crafting which puts me in a really grouchy mood. I wanted to make sure to add lots of little details to the card and I am happy that it's finished.

Some of the colors I used on this image are:
E31, E33, E74, E27, E23, E04, E07, E79, E00, C1 N2
W9, W7, W5
E97, E27, E99, E77, Sepia Copic Multiliner
N2, N0, 0
R24, R29, R46, R56
B21, B95, B97 and B45
I drew in the stool myself.
(Must find a chair or stool or some stamp of that nature for her to sit on...  I saw some of the inspiration photos from the LMMS store. LMMS store here I come... heehee jk. I need a nap actually.)
The scalloped die is from CC Design,
The oval dies are from My Creative Time,
The Happy Birthday dies are from Elizabeth Craft Design called 947 - Happy Birthday Pop-Up
The Recollections paper pad is called Valentine
The blue paper it's also a recollections paper but I stamped it
with a grid mesh using Distress Inks to give it a worn jean look and to
break up a lot of that beige in the background.
I found the January birthday poem online.


Here is a close-up.


Thank you for stopping by.
I hope you got a little bit of inspiration from this card.

Katya Bess


Entering card at:

Saturday, September 3, 2016

Smile Harley


It's time for another Theme Week!
INSPIRED BY... Simply create something that was inspired by a movie, character, song, brand, etc!
We would love for you to participate with us in our THEME WEEK and it's quite easy to do so!  Simply create a project using ANY Stamp Anniething product (as your main focal point) in the set "theme" for that month. Post your project to the corresponding album over at our Face Book Group page (Stamp Anniething Stampers)! You may enter as many projects as you wish, but you will only be counted as ONE entry person.  A minimum of 5 people (not including DT Members) is needed in order for a prize to be given.

*~*~*~*~*~*~*~*~*~*~*~*~*~*~*~*~*~*~*~*~*~*~*~*
So here we go for August'sTheme Week!
Make ANY project that was inspired by a movie, character, song, brand, etc!
*~*~*~*~*~*~*~*~*~*~*~*~*~*~*~*~*~*~*~*~*~*~*~*
For this card I pieced three different stamps to make Harley Quinn
 Trudy- Birdcage,  Chloe - Stay Cool and Jemma - Happy Easter
I watched Suicide Squad and and I kept listening to some of the songs
even other songs that are related but not on the Soundtrack that
are most likely something Harley Quinn would sing or relating to her
character. I guess I got a little bit crazy with it.

I used Trudy- Birdcage's head and hair,
 Chloe - Stay Cool for her shorts and legs and then I used 
Jemma - Happy Easter for her little jacket.
I had so much creating this card.
The background is a Tim Holtz embossing folder
and I distressed it and doodled a little.
The Smile die is from The Greeting Farm
It was so much fun creating this card. 

Hope you will play along with us in our Monthly Theme Week! You can see and post all your projects in our Facebook Group HERE


I hope liked my project for today and thanks for visiting!
Have a great day!

Katya Bess 

Saturday, August 13, 2016

Roaring Twenties Tiana

Hi there!


I made this card using one of the newest stamps from Stamp AnnieThing called

I colored her with Copic markers
and with the intention of looking like Tiana from 
The Princess and the Frog.
The skin colors are: B24, E11, E35, E23, R22 and R30.
For the Hair I used C9, C7 and C5...  I used that C9
so much that it was too sticky... good thing I have replacement nibs
and a refill because the alcohol did not help with bad it colored.
Oh yeah and the dress I used YG00, YG05, YG06 and YG07 (YG07 
always gives me big blobs of ink :[ I'm going to to have to stop being a cheap-o
and just change that nib too)
My desk is so cluttered that I keep trying new colors out because I can't
find my other markers... well I like trying new colors but part of it
is because my desk is so messy. LOL Creative Explosion happens I guess....
The paper is from Die Cuts With a View and it's called The Magnolia Way
and I thought it was perfect to go with "Tiana." 
The dies are from Craftin' Desert Divas and 
from My Creative Time. I fussy cut the image and used C9 all around to get rid of 
the white showing from the edges of the paper and then
added a little bit of Wink of Stella to her hair band and dress band
when it was glued down. The I decided to use the sentiment
that comes with this stamp that says: Roarin' Fun
but I accidentally used my Memento Black ink
and realized this will not work with that paper so before it smeared
I tried to rescue it with embossing and then realized that it was frantage
as I embossed it. LOL    It looks nicer in person but I may die
cut a little piece of paper and just glue on top... not sure yet.  teeheehee.

So the last card I made with this stamp I kept thinking of
Charlotte La Bouff aka Lottie which is Tiana's best friend...
you can see it here with the August 2016 release and I also 
colored Paige as Princess Tiana over here with the February 2016 release.
I have so much fun coloring the Chibi Kids as popular characters
especially when I make cards for my kids, teachers, family and friends.

That's about it for this card.

I hope you got a chance to buy and play with a 
few of these cuties. 

Have a great day.

Katya Bess


Thursday, February 4, 2016

A Kiss Would be Nice


Hi and welcome to Day #1 of Stamp Anniething's February release!  
If you love Princesses this release will be right up your alley!


Paige is ready for the ball!  She even comes with an optional tiara crown (that fits on any of our pretty princesses!)

Paige will be available in the store Friday along with the other 2 stamps we will be showing  you  this week!!
`~*~*~*~*~*~*~*~*~*~*~*~*~*~*~*~*~*~*~*~*~*~*~*~*~*~*~*~*~*~*~*~*~*~*~
Here is my completed card using Paige but you can see I colored her 
Princess Tiana from Princess and the Frog


I colored her with Copic markers
but before I colored her in I had to mask her and color in night background
with distress inks. After using distress inks I went in with a water brush to 
remove some of the color in random spots and colored in with a Yellow Copic
then I used Yellow Wink of Stella to make it look like fireflies are around her.
This is supposed to be Tiana in the masquerade dress that her friend Lottie let her wear.
The hand written message is a something that Tiana says when she sees
the "frog prince" when she first sees him and he responds by saying, 
"A kiss would be nice!" LOL  or at least is what I think he said.
For the crown I used Ranger's Big & Bossy embossing pad
and Martha Stewart tinsel embossing powder.
The dies are from My Creative Time. :P
That's all for now friends...

Stamps will be available in the STORE Friday!

Thanks for joining us for our February Release
 and have a great day!

I hope you liked the card

~ Katya Bess

Tuesday, December 22, 2015

Baby Blue Winter Wonderland

Hi Everyone!

 I hope everyone is enjoying the season whether you're at home or in the work place.
As for me, I'm at home all day with the kids. LOL    It has been cold and raining... 
a big big change for us in California. I hadn't posted because all of last week.. well not 
every single day but for a nice amount of days our kids had to 
rehearse for a play and to sing at our church.

Okay on to my card. It's sort of a re-do using:
Audrina as an ice skater!
Audrina is just flowing with motion on her new skates! She is just skating to say hello
or whatever sweet message you want her to say. :)

for my previous card using Adrian I colored her in brown and gold tones.
Check out that card here:
With this one I used a lot less glitter... actually it was embossing glitter so none of it flakes off.

Okay here is the card... in my Winter Wonderland theme.


I used Copic markers to color her up
Salty Ocean mini Distress Ink for the trees on the back
then I used Whispers Clear Glitter embossing on top of some of the trees.
The hill die is from Avery Elle Elle-ments it's called Dotted Border Die.
The bottom portion I used Copic markers again to give it an frozen ice
for skating then I used Versamark pad to use the Martha Stewart's
Sterling embossing Powder for the sentiment at the bottom.


Here you can see the sparkle from my Sakura Gelly Roll it's a soft blue
and it's from the Stardust collection. You can also see the sterling silver embossing :)

For more inspiration using this cutie you can check out 
our Pinterest page using here: 

Thank you for stopping by.
Have the Merriest Christmas and/ or Holidays.


~Katya Bess

will enter card at:
Any Christmas Cration, Any Color

Christmas / Winter Themed

Anything Goes

Anything Christmas

Anything Goes

Anything Goes

Anything Goes but create anything using your Copic or any of the markers the they carry.

December Challenge - must have sentiment of greeting

Thursday, November 12, 2015

Audrina Skating by with Nov Release

Here's a sneak peek of my card... I'm so excited to show you this one. :P 


Hi and welcome to day #2 of November release!
With winter well underway in parts of the country, we have dedicated
this release to Winter!


Check out Audrina as an ice skater!
Audrina is just flowing with motion on her new skates! She is just
skating to say hello!
Audrina be available in the store Friday along with the other 2 stamps 
we showcase for you this week!!!


❅    ❅  ❅ ❅  ❅ ❅  ❅ ❅    ❅  ❅ ❅  ❅ ❅  ❅ ❅    ❅  ❅ ❅  ❅ ❅  ❅ ❅    ❅  ❅ ❅  ❅ ❅  ❅ ❅    ❅  ❅ ❅  ❅ 

Here is my completed card using Audrina

OMG! I used way more glitter than I'm used to and I still have glitter in different spots of my desk and floor but I love the way my card came out. I might have to make a video and show you all just how glittery and shimmer it is sometime in the near future. I colored Audrina with Copic
markers, Copic Spica glitter pens and Sakura Gelly Rolls.
The background is a combination of embossing powders and loose glitter.
As you can see it's pretty much a two-tone card. I used mostly Earth (E's) and Yellow (Y's)
Copic markers to give a warm golden look
BUT I did use a tad bit of R20 and R30 for rosey cheeks, tongue and nose.
The trees in the background are from
Whimsy Stamps called Christmas Scene Builder
I hope you like my golden winter wonderland card using
the super cute stamp.

To get more inspiration check out the awesome creations 
the Design Team made with the adorable Audrina.
Just click here: http://stampanniething.blogspot.com

Thanks for joining us for the November Release preview. 
Have a great day!!!

Katya Bess